Let me start with my own story! ONCE UPON A TIME… I used to be a teacher who relied heavily on vocabulary lists and checklists of what my students needed to memorize. For example, my third graders were required to name five fruits, five animals, school supplies, and places in the community, among other things. All these vocabulary words were disconnected and lacked context. I also expected my students to remember these words indefinitely and use them the following year. This often left me feeling frustrated, and I blamed my students for not retaining words they had only heard during the fruit unit.
Everything changed when I started teaching with stories. I began to focus on high-frequency and useful phrases and language. Instead of just concentrating on the five-word fruit unit, I told stories where students not only learned the names of the fruits but also how to express likes and dislikes while following a plot in the target language. These stories were simple, engaging, and provided the necessary repetition for my students to acquire the language, not just learn it.
As a teacher, I felt my teaching toolkit was rejuvenated. I discovered different ways to bring stories to life for my students—through pictures, short clips, picture books, co-creating stories, songs, or short stories I created for them. I didn’t switch to teaching with stories overnight. I started gradually, and with practice, I became more confident in integrating more stories into the various grades I teach. Now, I can proudly say that my curriculum is 90% story-based.
I remember that the first story I told my students was the picture book Froggy Gets Dressed (Froggy se viste). I first read the story and then retold it using props. The story was so repetitive that by the end, they were repeating it with me. From there, I started incorporating more and more stories, and now I have a full repertoire.
The best part of teaching with stories is that it gives you the flexibility and creativity to make language acquisition an enjoyable process for your students. Your students are more likely to acquire the language when they experience it in context, which makes all the difference. Bringing stories to your students can also broaden their horizons and allow them to learn about themselves and others because through stories, you can also bring culture and teach life lessons. Stories naturally incorporate varied vocabulary and grammar, providing a meaningful context for language use.
Are you ready to start using stories in your classroom? Remember to start little by little, ensure that you feel connected to the story, and practice before bringing it to class! And remember, it doesn’t have to be perfect; with practice, you’ll become more confident and proficient at telling stories!
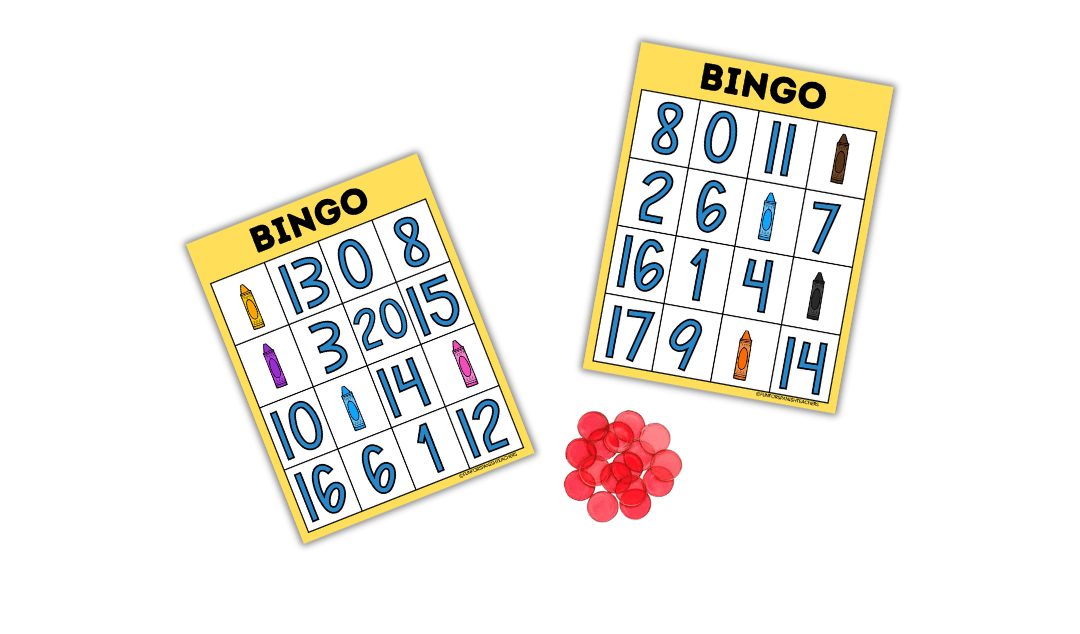
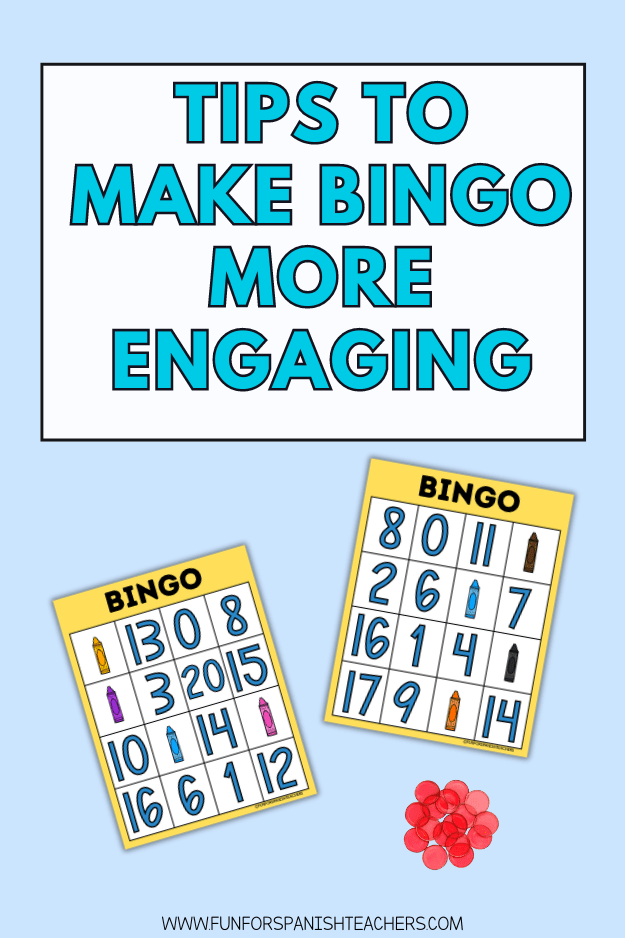
Bingo games are great for reviewing and reinforcing the vocabulary you are exploring in class. They provide a fun way to offer repetition. Use the game’s call-out cards to introduce the vocabulary first.
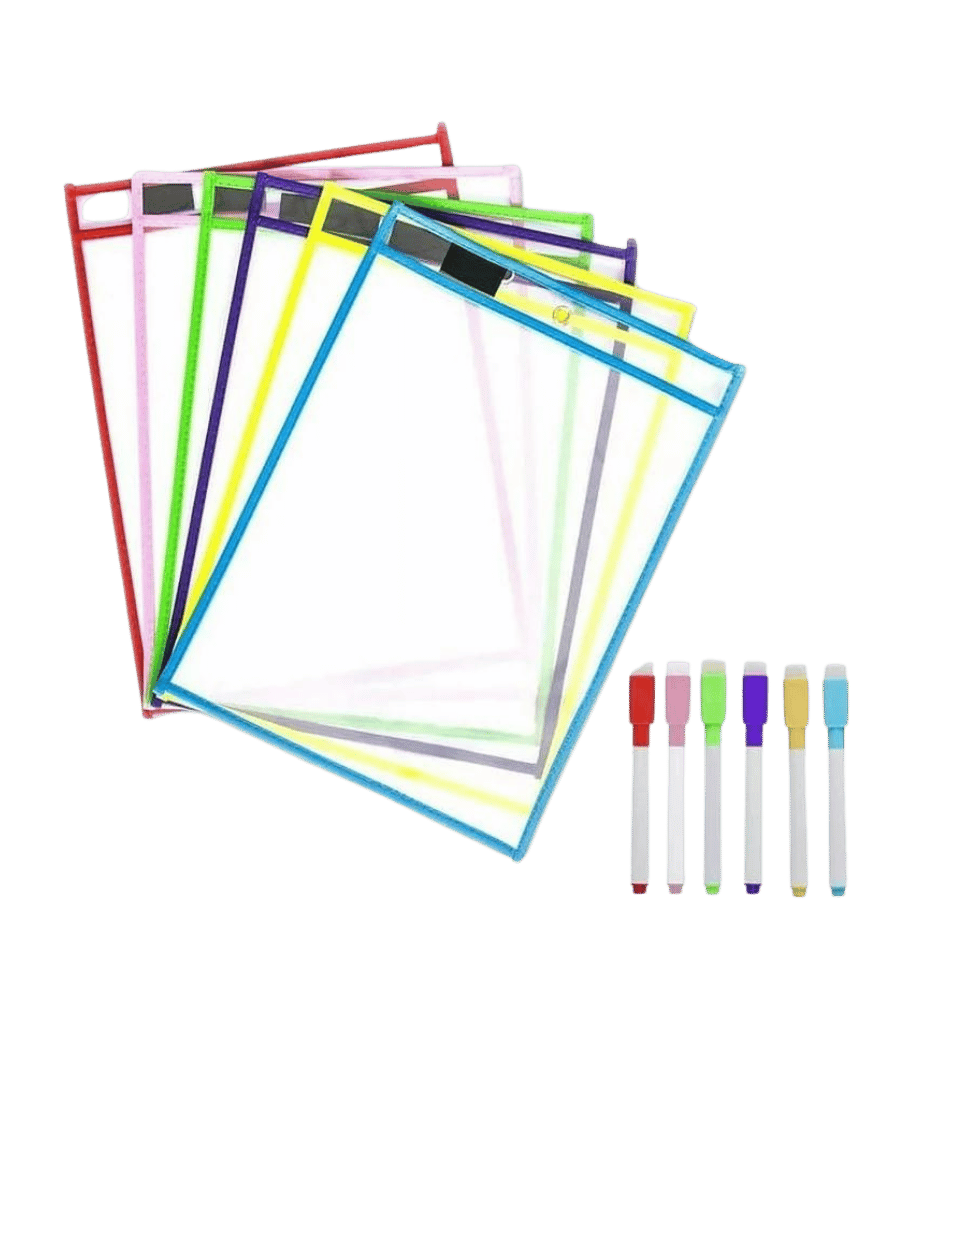
Use items like small counters, buttons, or even pieces of paper to cover the numbers on the cards. You can also print the pages, put them inside plastic reusable pockets*** (Amazon affiliate link), and give your students erasable markers to mark the numbers or colors if they have them on their bingo cards
Playing the game:
Make sure your students understand how to play bingo. Ensure your students understand how to mark their cards when a number is called.
Explain the winning patterns (e.g., a straight line, full house, four corners).
Introduce some phrase in Spanish for students to use if they have the card or if they don’t have it. They might say: “Lo tengo” or “no lo tengo.”
Pause and ask questions such us ¿Hay bingo o no hay bingo? These will invite children to stay in the target language while playing the game.
Incorporate Movement: Students in upper levels can clap or jump anytime they hear an even number.
Add a Learning Twist: Incorporate simple math questions, such as ‘What is 10 plus 5?’ and call out the resulting number. When calling a color card, you can spell out the word for the children, and they can put it together to tell you the color.
Use Positive Reinforcement:The class can congratulate the winner in the target language by saying “Muy bien” or “Felicitaciones.”
Use Variety in Winning Patterns: Change up the winning patterns occasionally (e.g., four corners, small square, blackout) to maintain interest.
Looking for bingo games for your classes? Stop by my TpT store!
Summer brings a variety of online and in-person professional development opportunities for World Language educators. These sessions are organized by various organizations and companies. I will be participating as a presenter in some of these sessions, and I have also presented at some in the past. These conferences offer a wide range of topics and presenters.
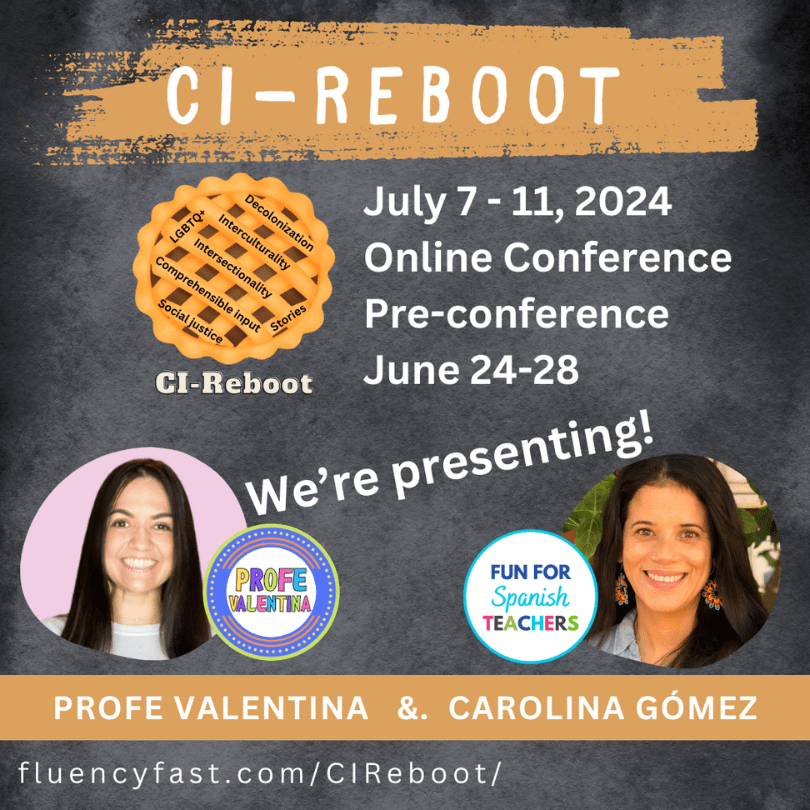
If you are new to comprehension-based teaching or would like to refresh your knowledge and gain new ideas for the upcoming school year, the CI-Reboot conference is perfect for you! It offers both pre-recorded and live sessions, so if you can’t attend in person, you can watch the videos later. Here are some of the topics that will be covered during the conference, with a diverse range of presenters each day:
Pre-conference: June 24 – 28 Sunday, July 7: The Fundamentals of CI/TPRS (What is CI Teaching? TPR, TPRS, CI Basics, SLA Theory) Monday, July 8: Backward Planning, Teaching Reading, FVR (Self-selected independent reading) Tuesday, July 9: Sheltered Subject Matter Teaching (All content) – What content are we teaching? Wednesday, July 10: Classroom Management, Classroom Set-up, Assessment Thursday, July 11: Advanced CI, Upper Levels, The Big Picture
If you would like to register for the conference, make sure to use THIS LINK, which provides a $10 discount for my readers. Valentina Correa and I will be presenting on July 7th about Using Comprehensible Stories to Spark Change.
Another excellent event for World Language educators is the World Language Teacher Summit – Back to School Conference. Teachers can attend this conference for free during the designated period – register here. I truly appreciate this complimentary professional development opportunity.
The conference will be held from July 22nd to 26th, with each presentation available for free for 48 hours. If you cannot attend during that week, don’t worry! You can upgrade to the All-Access Pass, which provides unlimited access to the entire event and exclusive bonuses. If you register for the free conference using my link and later decide to purchase the All-Access Pass, I will receive a commission. Also, don’t forget to register to receive the Playbook and learn about the presenters and topics.
I will also be presenting at the KLETT WL Conference. Stay tuned for more details; I will update this post when registration opens, as I want my readers to be the first ones to know!
Because I enjoy sharing at regional conferences, I submitted a proposal to present at MaFLA this fall, and it was accepted! I’m really looking forward to connecting with teachers in person. Presenting not only brings me joy but also helps me continue growing as a teacher and motivates me to improve my practices.
Last but not least, if you are looking for in-person professional development opportunities tailored to your needs, let’s work together and create a plan that suits you or your department perfectly! Visit this link to contact me.
Which professional development opportunities will you be attending this summer?
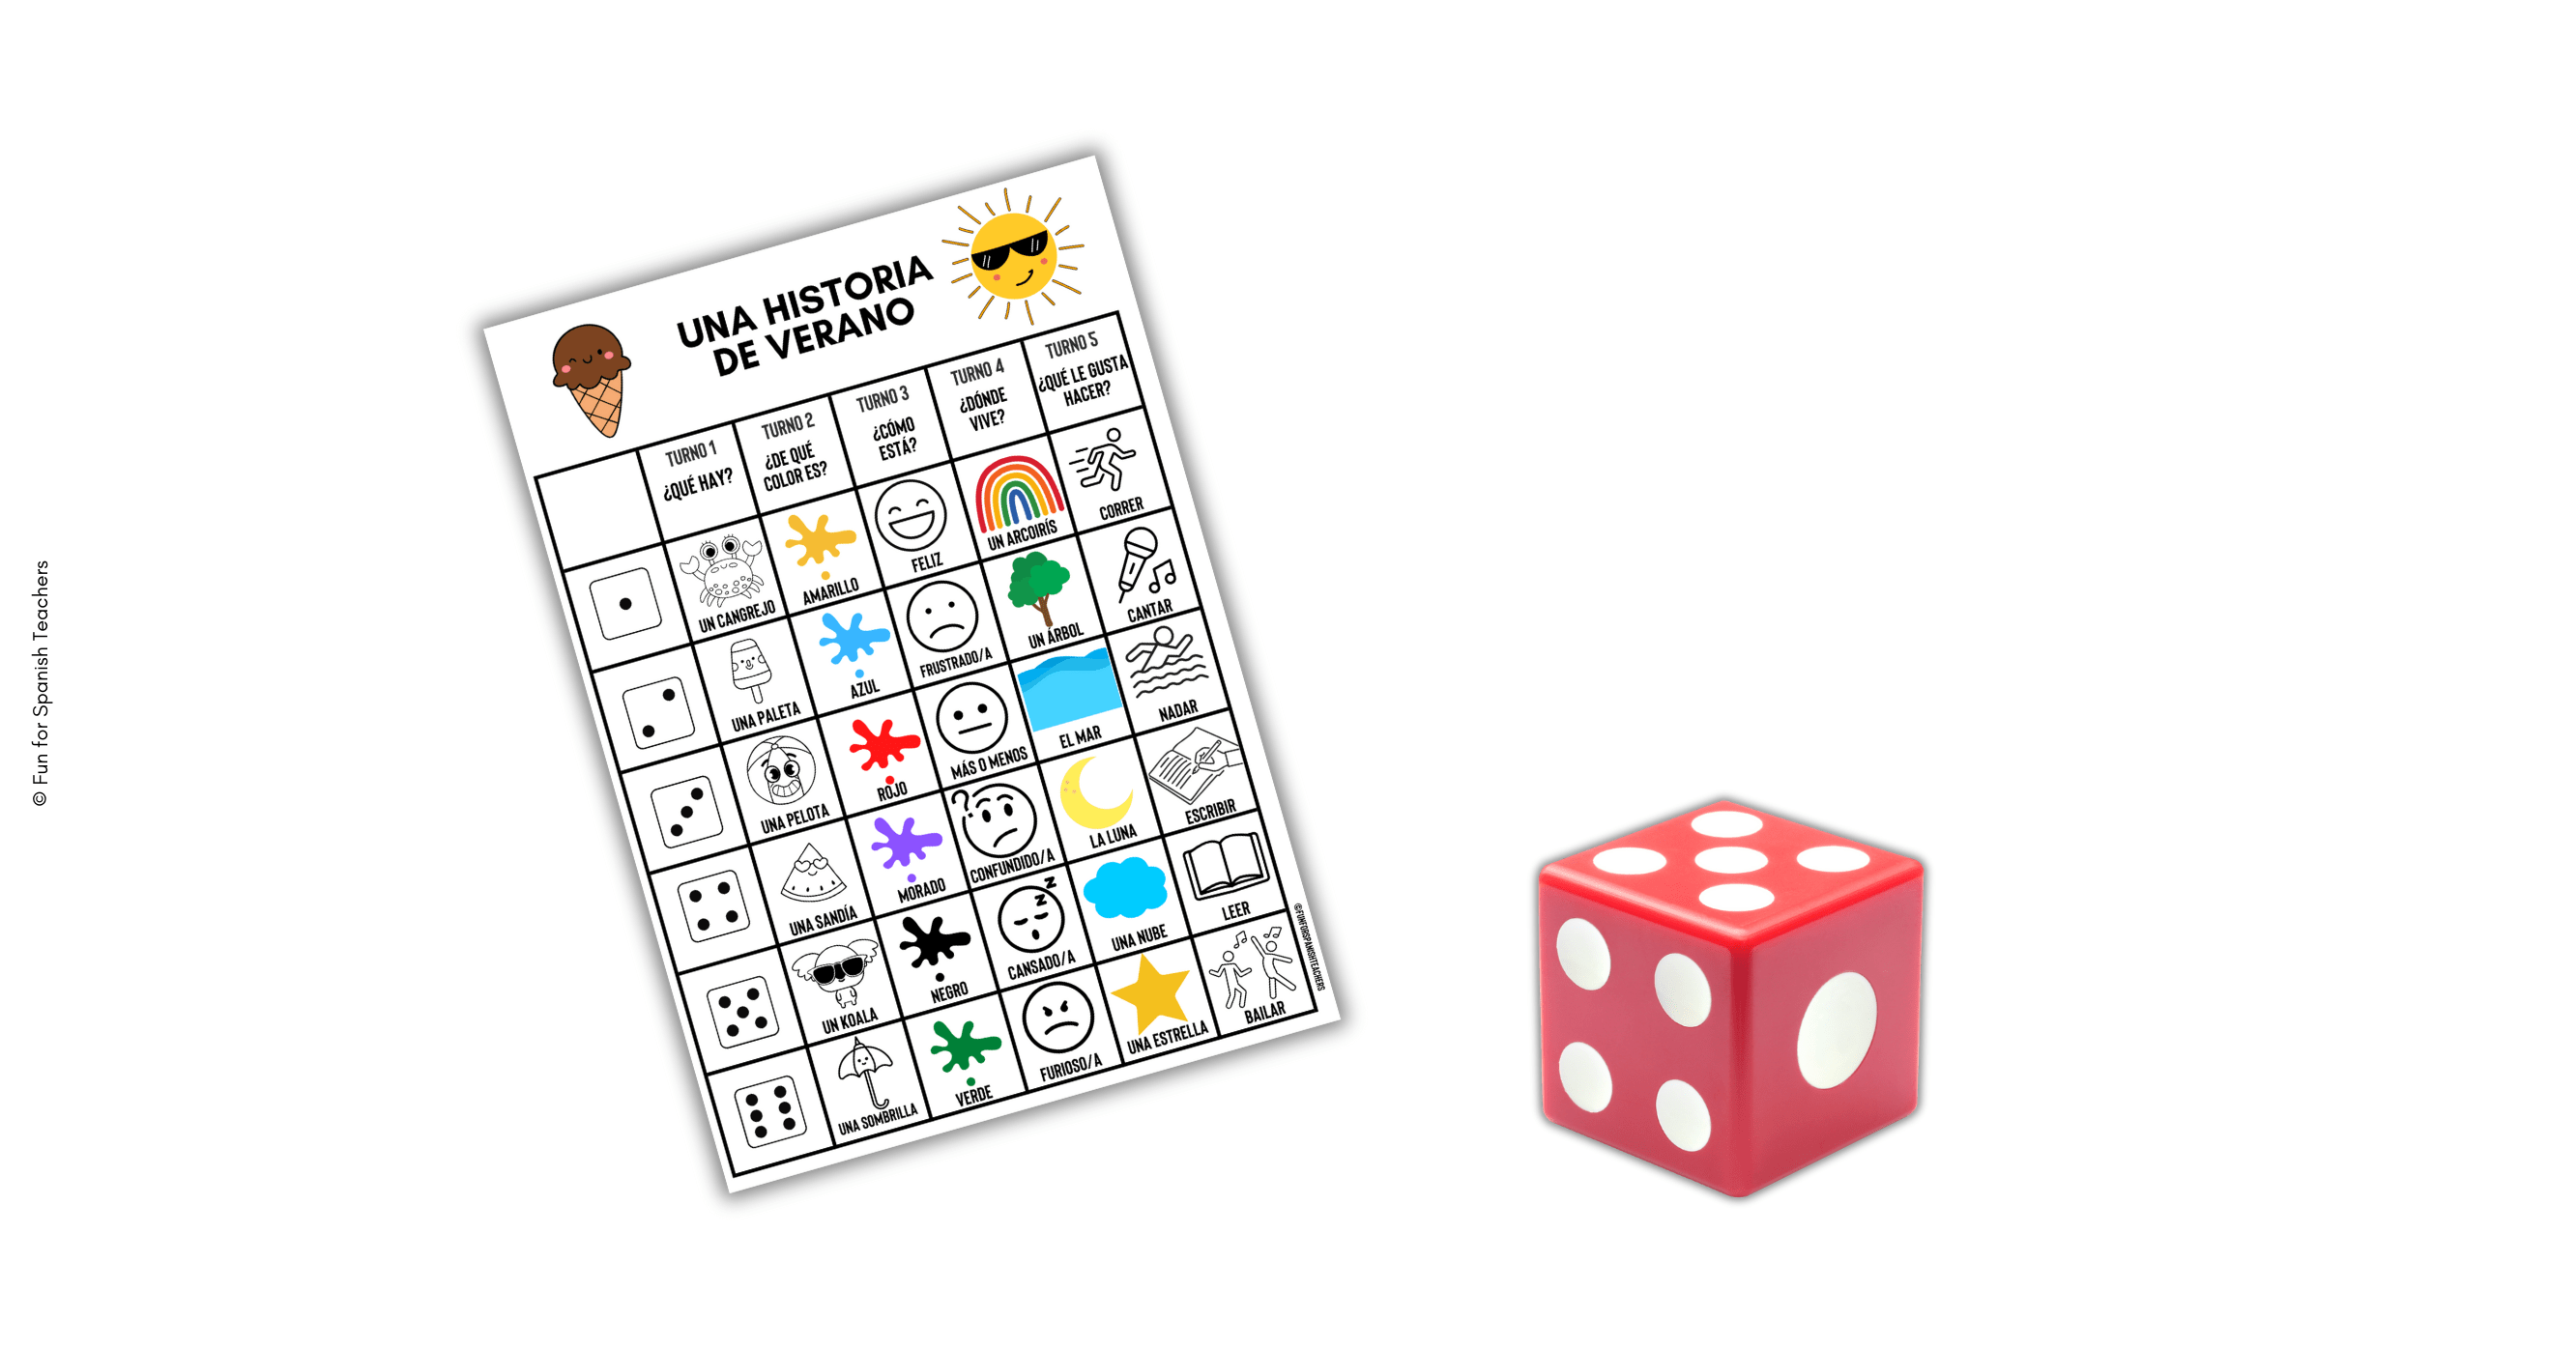
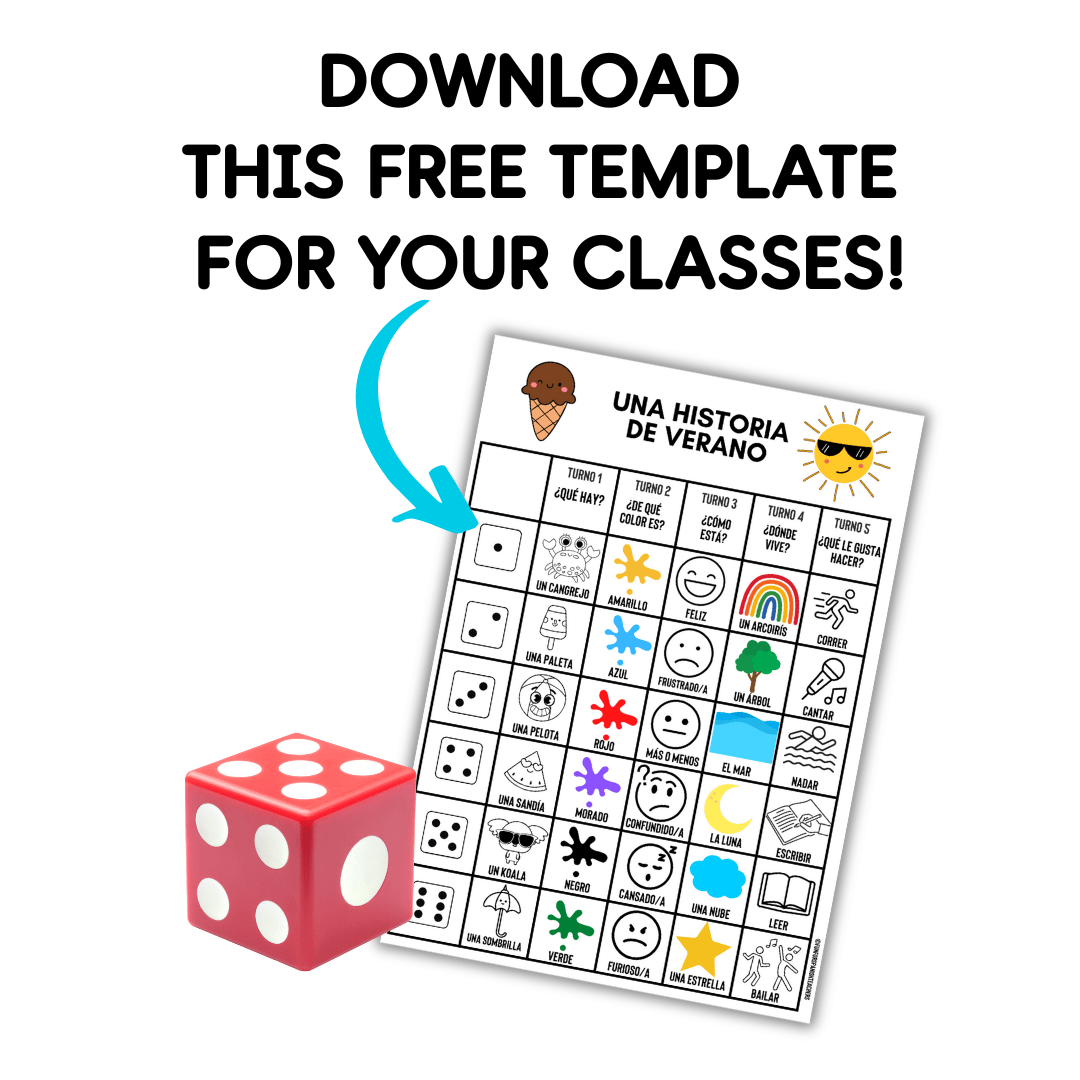
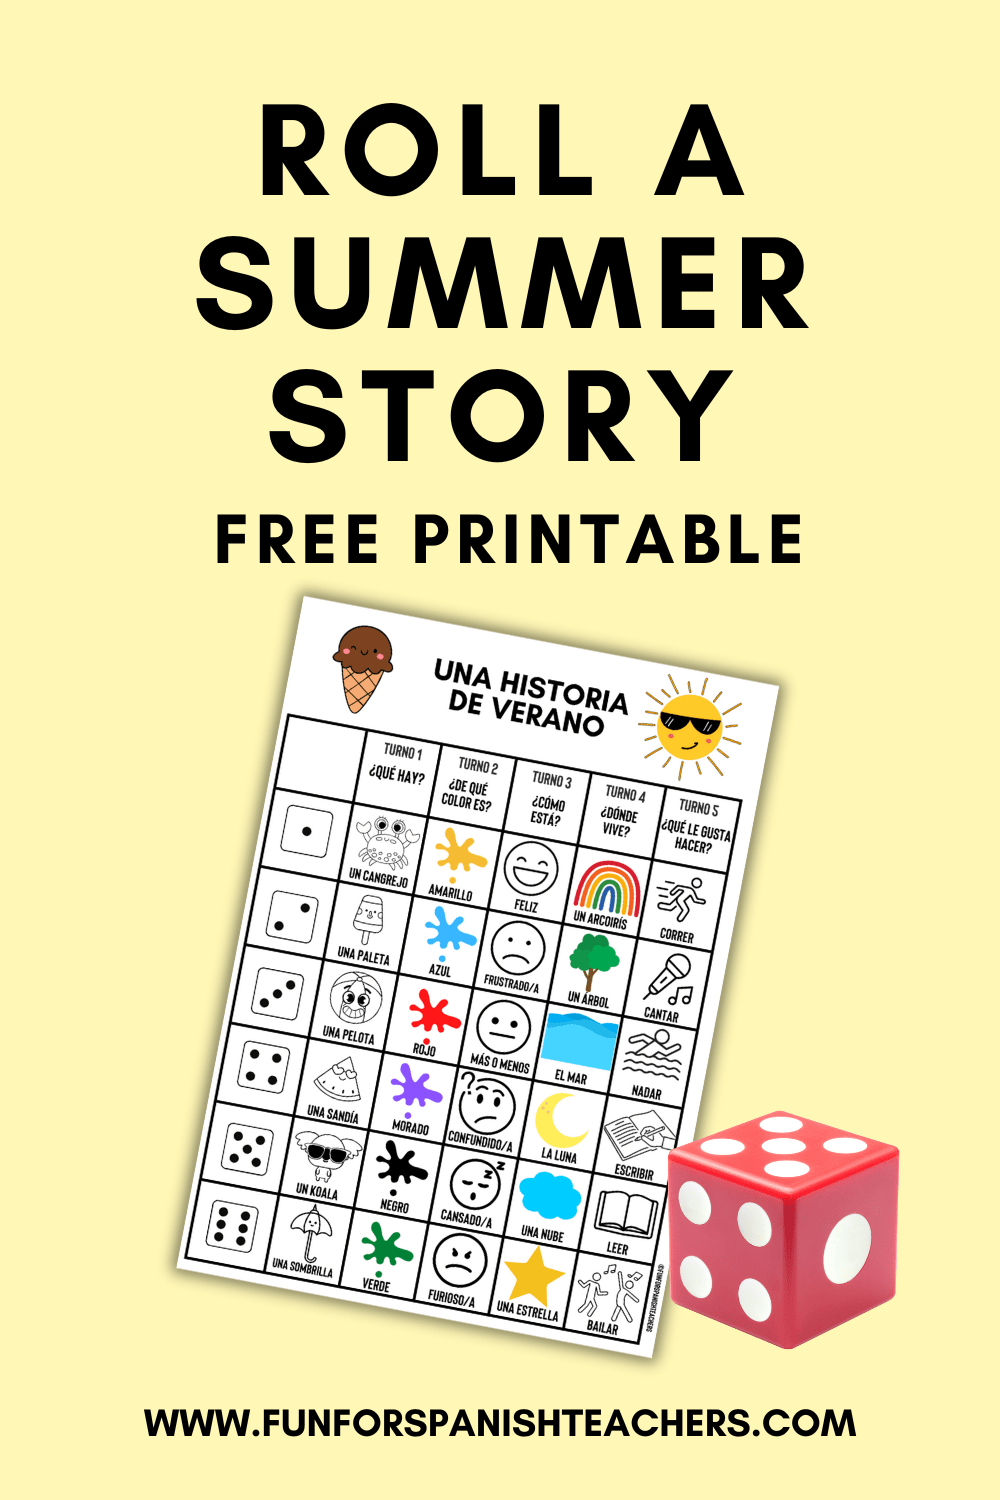
Creating stories with novice learners could be challenging but not impossible if you provide the language and a template for them to complete. Although they are not completely coming up with the details for the story, giving them this support provides them with a sense of autonomy in the target language. Rolling stories have become an all-time favorite activity for my second and third graders; the best part is that this can be done in just one class. My classes don’t last more than 45 minutes, so during this time, students get to create the story and illustrate it. This activity is so simple that students can decide to do it in groups or on their own, and now we have stories for different seasons and celebrations.
What do you need in order to roll a story?
Story Template: This guide includes sections for the type of character, color, emotion, place where they live, and what they like to do.
Dice: Using dice adds randomness and creativity to storytelling. Students roll to determine story elements.
Additional Story Template: This optional tool provides extra structure, which is especially helpful for younger students. It maximizes class time and relieves students from writing from scratch, which could be overwhelming for many younger students.
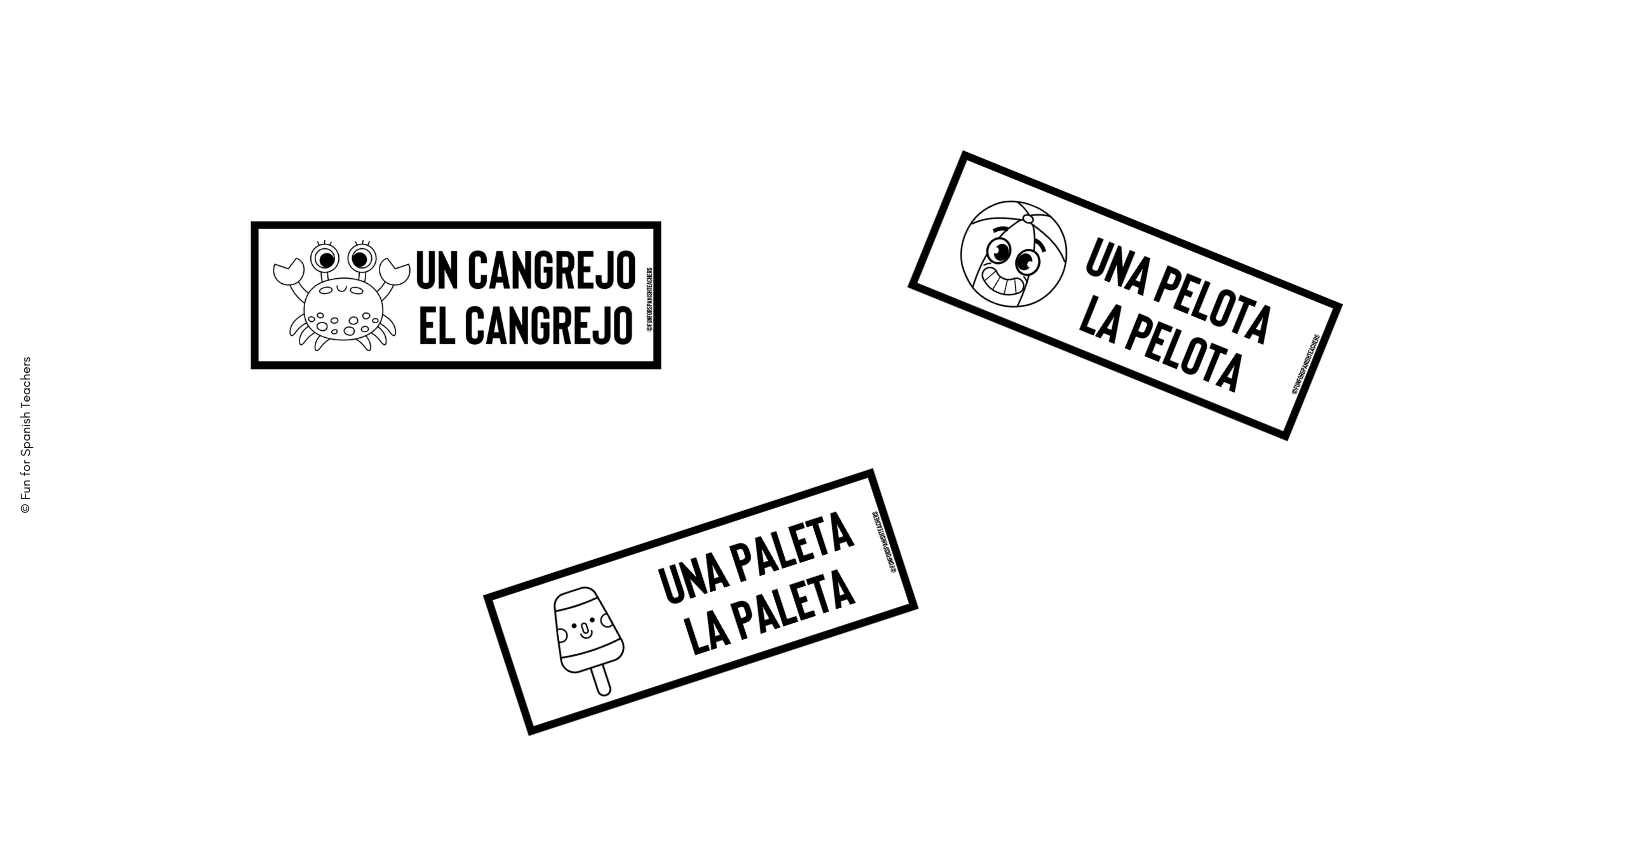
Flashcards with articles:Believe it or not, this question has come up in my second-grade classes, and it has been an opportunity to talk about definite and indefinite articles. That’s why I now support this with visuals when writing these little and short stories.
Once students have completed their stories, they illustrate them. I like keeping them in the notebooks. In the next class, I use a document camera to read their stories and ask questions about them. Some students might have the same stories, but believe it or not, they all want to hear them. I also expand by using their illustrations to talk about the stories. Rolling stories has to be one of my favorite stand alone activities that are engaging and meaningful.
As we approach the final days or weeks of the academic year, maintaining student motivation and focus can become challenging. Nonetheless, seizing the opportunity to make these last days count is a positive way to conclude the school year on a high note. Here are some tips to ensure these days are productive and meaningful:
Maintain Your Routines
You’ve worked hard to establish routines throughout the year, so it’s important to maintain them until the end. Keeping these routines helps provide a sense of continuity and stability for both you and your students, helping a smooth transition into summer.
Continue Building Classroom Community Until the Last Day:
Look for opportunities to celebrate your students’ accomplishments and milestones. Reflect with them on all they’ve achieved throughout the year, and keep finding ways to continue connecting and building on those relationships. It might be the case that you will have the same students the next school year
Keep the Brain Breaks Going
Simple brain breaks, such as Chocolate or the Aguacate game, that invite your students to move and then center back into the activities will help! If there’s too much energy, breathing breaks will help with this!
Make the Last Days Extra Fun
Wrap up the school year with your students’ favorite games and tunes in your class. Sing-alongs are always a hit! Try the Wheel of Names to pick the songs and games. This will also add excitement!
Bring Quick and Easy Activities
Bring in activities that don’t require a lot of follow-up and can be completed in one or two classes. Examples include creating a craft with memories of the school year, working on a short story with a follow-up craft, or doing color-by-code pages. These activities are fun and easy to manage, providing a relaxing yet meaningful end to the school year.
Reflect on Your Teaching Practices
Take time to evaluate what worked well and what didn’t throughout the year. Engage your students in this reflection process by having them complete a short survey to share their thoughts on what was helpful in their learning. This feedback can provide valuable insights for your upcoming school year.
The calmer and happier we are in the final weeks, the better our students will do. Stress causes more stress, so plan ahead and take deep breaths!
¡Hola! I am Carolina, a Colombian elementary Spanish teacher based in Boston, MA. Fun for Spanish Teachers is the result of my passion for teaching Spanish to children and my desire to inspire collaboration and creativity in a vibrant teaching and learning community. It’s the perfect stop if you are looking for songs, games, teaching tips, stories, and fun for your classes.
To provide the best experiences, we use technologies like cookies to store and/or access device information. Consenting to these technologies will allow us to process data such as browsing behavior or unique IDs on this site. Not consenting or withdrawing consent, may adversely affect certain features and functions.
Functional
Always active
The technical storage or access is strictly necessary for the legitimate purpose of enabling the use of a specific service explicitly requested by the subscriber or user, or for the sole purpose of carrying out the transmission of a communication over an electronic communications network.
Preferences
The technical storage or access is necessary for the legitimate purpose of storing preferences that are not requested by the subscriber or user.
Statistics
The technical storage or access that is used exclusively for statistical purposes.The technical storage or access that is used exclusively for anonymous statistical purposes. Without a subpoena, voluntary compliance on the part of your Internet Service Provider, or additional records from a third party, information stored or retrieved for this purpose alone cannot usually be used to identify you.
Marketing
The technical storage or access is required to create user profiles to send advertising, or to track the user on a website or across several websites for similar marketing purposes.