Looking for ways to build classroom community from day one? Community is one the most important things to have a successful school year with your students. Having strong classroom communities will lead to empowered students who will feel validated and ready to thrive.
These are just some of the ways you can start building community in your classes:
Introduce Yourself
Students want to know who their teachers are. Sharing simple things about you will make them feel safer and find ways to connect with you.What can you share with your students? Likes, dislikes, special traditions, languages you speak, and so on! I recommend not asking about summer activities since not everyone has access to the same opportunities.
Learn How to Pronounce Your Students’ Names Correctly
This is key for building classroom community. Let your students know that it’s ok for them to correct you if you mispronounce their names. Find ways to help you remember the correct pronunciation.
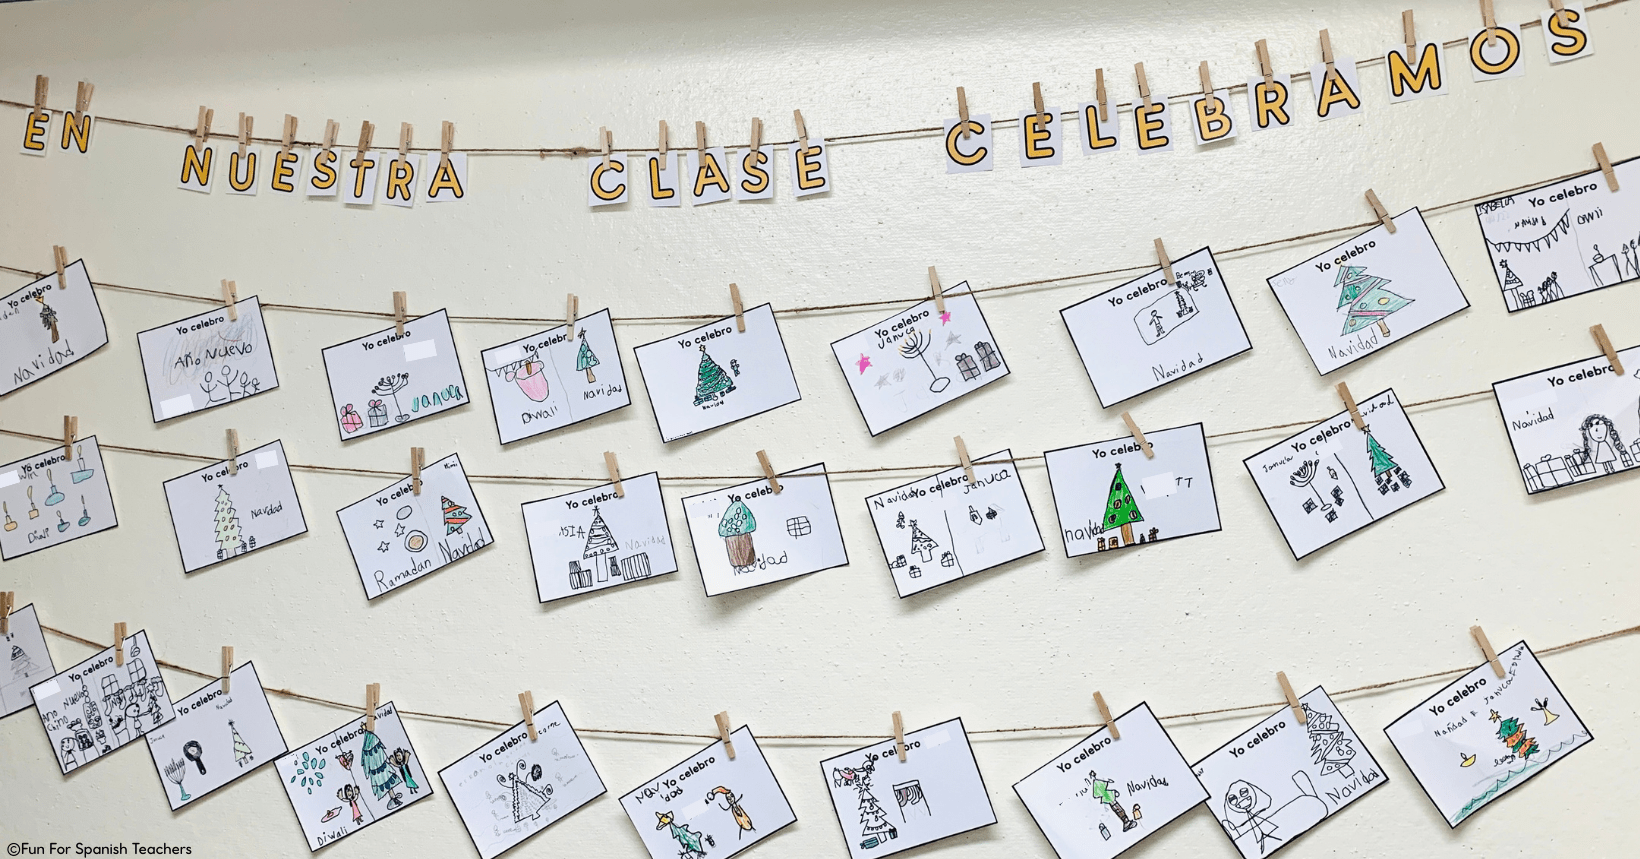
Celebrate Your Students’ Cultures
World language classes should not only focus on the cultures of the target language. Our classes should be spaces where all cultures and traditions are celebrated. Look for ways in your classes to elevate your students. Make your class a space where everyone is welcome!
Focus on the Positive and Always Celebrate Your Students’ Milestones
Focus on the positive and always celebrate your students’ milestones: Remember that our classes are filled with students that have different learning styles and personalities. It’s important to keep in mind that they are all processing and learning at different paces.
Involve the Families of Your Students From Day One
Send a letter or email to your students’ families / caregivers prior to or right after you have your students in class on the first day.Let them know about you, your program, your professional experience, and expectations for your class, and ways to connect with you! Families are also important when building classroom communities!
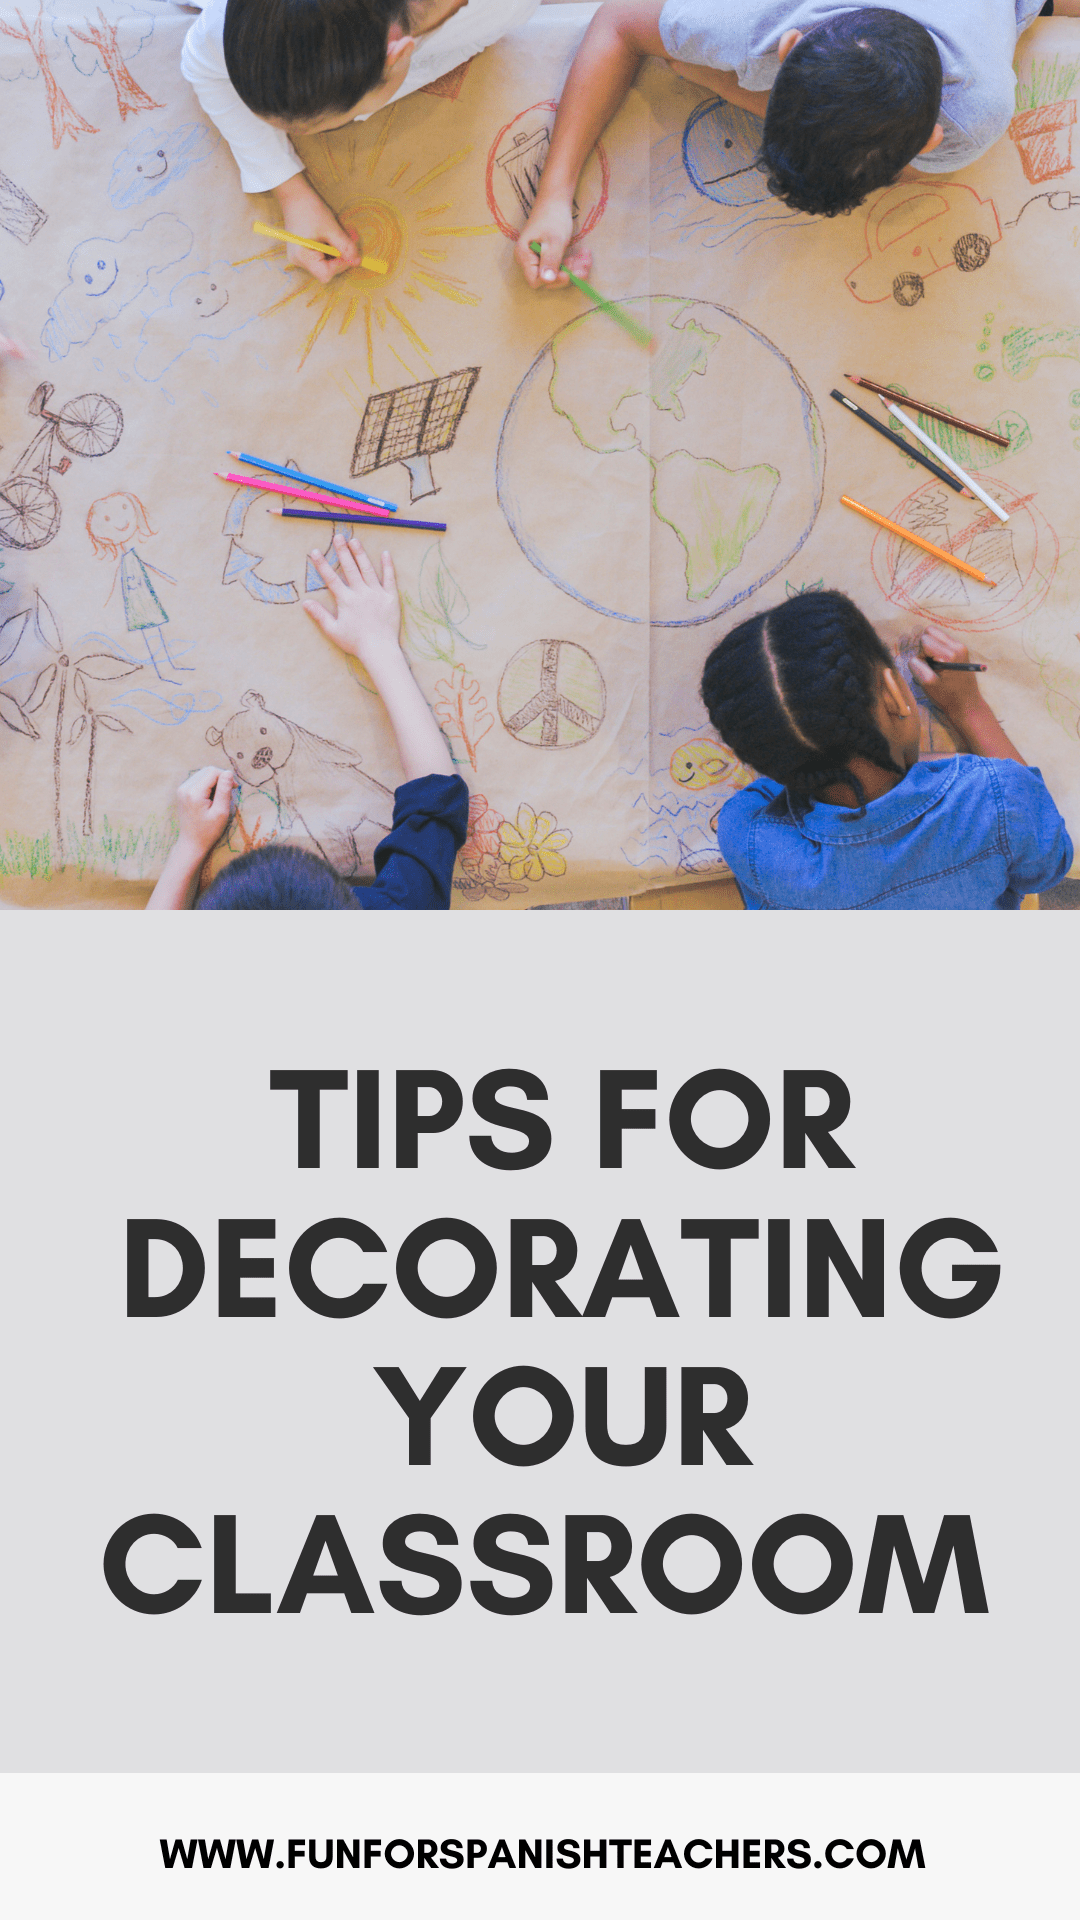
Whether you’re a new teacher or have been in the classroom for a while, there are simple yet powerful tips for decorating your classroom that can save you time and transform your classroom into a hub of creativity and teamwork.
Imagine stepping into your classroom on the first day of school. The walls are adorned with bright decorations, everything neatly organized, and inspiring quotes displayed everywhere. Many teachers aim for this kind of inviting setup to grab students’ attention from the start. But what if there’s a different way that not only saves you time and stress but also brings your students together and gives them a sense of belonging? This approach involves keeping things minimal and letting your students take the lead in decorating. Personally, I prefer using whites and earth colors, and I also recommend adding plants to create a more relaxing atmosphere.
Instead of spending hours making everything look perfect, provide the basics and let your students get creative. When students help decorate, they feel like they’re part of the classroom. They understand that the classroom isn’t just your space; it’s a shared area where their ideas count. Keep your classroom decoration simple and minimalist.
In the first few weeks of school, involve your students in decorating tasks. For example, they can color the calendar, create signs, and discuss and put up class agreements together. This teamwork not only saves you time but also fosters a sense of community right from the beginning. Additionally, consider that most of the visuals in your room should serve the purpose of supporting your students’ language acquisition process.
Also, set up a spot on the walls or bulletin boards to showcase your students’ work. As you do different projects throughout the year, displaying what they create boosts their confidence and makes them proud of what they achieve.
Besides the basics, think about adding a few things that represent your students’ different cultures. Talking about these items can start interesting conversations and help your students learn about each other. By going for a simpler look and letting your students join in decorating your classroom, you’ll have more time and energy to focus on your lessons and what you want to achieve during the year.
In the end, whether you decide to go all out with decorations or keep it simple is up to you. As you get ready for the new school year, remember the great potential of letting your students create a welcoming space where everyone’s contributions are valued.
A parallel story is a powerful tool that language teachers can use to engage their students and reinforce language learning. By taking an existing story and modifying it slightly, teachers can create a new and exciting experience for their students that still retains the language patterns and vocabulary of the original story.
After using the book “La vaca que decía oink” by Bernard Most in class, I decided to create a parallel story for my kindergarten students. Though I worried they wouldn’t enjoy listening to a similar story, my students surprised me by engaging with it and recognizing familiar language patterns. I made some modifications, such as shortening the story and changing characters. We even plan to act it out and sing “La granja” to accompany it.
Parallel stories offer a time-saving approach, allowing you to reuse language patterns and recycle familiar vocabulary with minimal changes. Revisiting the same story also gives students an opportunity to process and predict what comes next. Occasionally, I like to add a surprise by altering the ending.
To create a parallel story, find a story familiar to your students and adjust it to their language level. Use props or Story Listening to tell the story, then create the parallel story by changing the characters, setting, and adding your twist. Finally, share the parallel story and prepare for your students to make connections!
Parallel stories are a fantastic way to engage language learners and reinforce language learning!
As World Language educators it is hard to find a single off-the-shelf curriculum that fits the needs of each elementary program. Some programs have less frequent class sessions than others, some are required by their schools (or have the wonderful opportunity) to make strong connections with other subjects, some have more heritage speakers in the student population, and so on! It’s also important to shape a program according to the needs and interests of the community. All this is just to make it clear that I don’t offer a set “one size fits all” curriculum for this reason.
I have shifted to using more stories with my students, but I also supplement them with songs, games, crafts, picture books, holidays, celebrations, culture, cross-curricular connections, clip-chats, and other activities. I don’t teach a unit just focusing on weather, days of the week, months, the alphabet, foods, and so on. I include these topics in our daily routine when we do calendar time. The stories focus on high-frequency vocabulary and expressions as well as vocabulary related to clothing, family members, colors, numbers, and more!
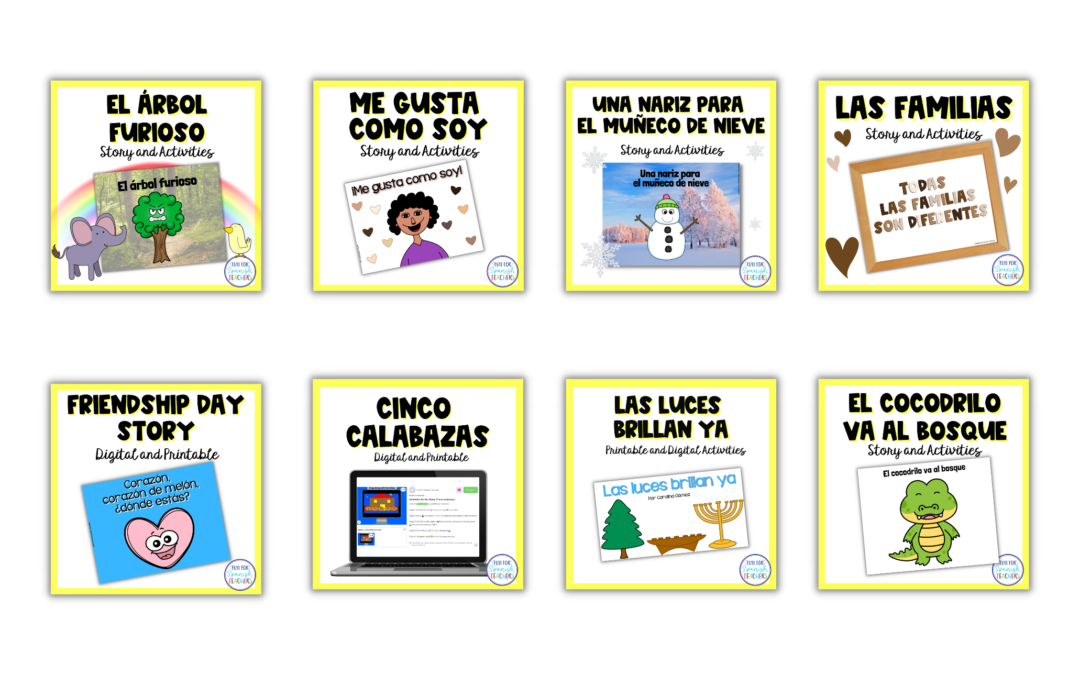
These are some of the stories I use by grade level. It might seem like a lot, but the stories themselves have a lot of repetition and recycle a lot of the same vocabulary. This is also based on the frequency and length of time I see my students. I see my kindergarten students in small groups, once a week for 30 minutes and my 1st through 3rd grade students twice a week for 40 minutes each time. I mostly follow the resources in the order presented and sometimes I recycle stories and use them again the following year to refresh some of the vocabulary and high frequency words.
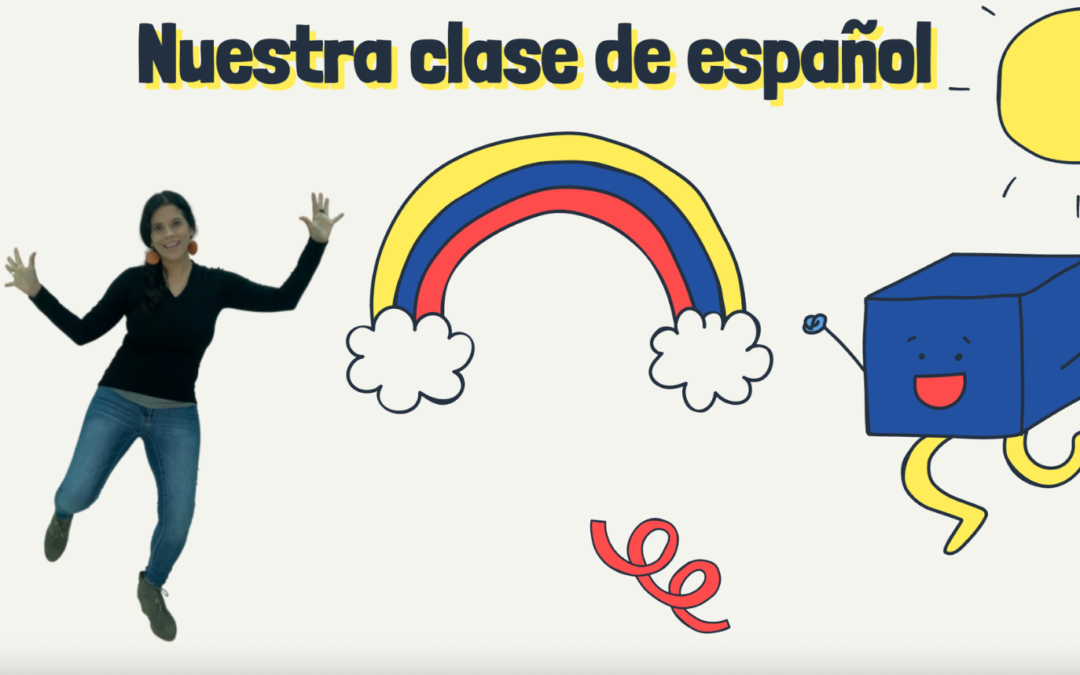
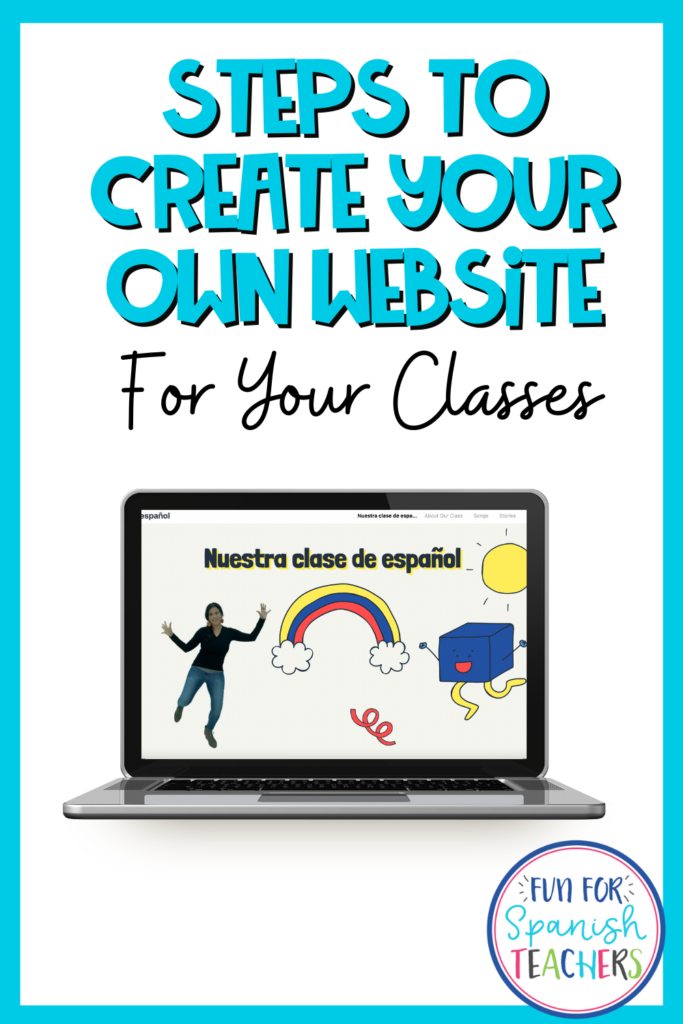
Have you always wanted to have a website for your class? Here is a quick and beautiful way to have one! First, make sure you have a Canva account which is free for educators! You just need to use your school email to open the account.
Follow these steps :
Open Canva.
Click on “Create a design” and search for “website”.
Title your website.
Choose a template or customize your own by searching on images in the “elements” section.
Add the titles you want. Choose your colors, fonts, and images.
Always click on the plus symbol to add more pages or the three dots to duplicate a page.
Once you have all your pages, have fun adding content to them! Add pictures and link them to videos on YouTube, websites or other platforms.
Get ready to publish your website. Choose “Classic Navigation” for a better look. Click on “Open Website”.
Share the link with your students’ families!
You can also resize your website to use on different devices. Let me know when you create your own website!
¡Hola! I am Carolina, a Colombian elementary Spanish teacher based in Boston, MA. Fun for Spanish Teachers is the result of my passion for teaching Spanish to children and my desire to inspire collaboration and creativity in a vibrant teaching and learning community. It’s the perfect stop if you are looking for songs, games, teaching tips, stories, and fun for your classes.
To provide the best experiences, we use technologies like cookies to store and/or access device information. Consenting to these technologies will allow us to process data such as browsing behavior or unique IDs on this site. Not consenting or withdrawing consent, may adversely affect certain features and functions.
Functional
Always active
The technical storage or access is strictly necessary for the legitimate purpose of enabling the use of a specific service explicitly requested by the subscriber or user, or for the sole purpose of carrying out the transmission of a communication over an electronic communications network.
Preferences
The technical storage or access is necessary for the legitimate purpose of storing preferences that are not requested by the subscriber or user.
Statistics
The technical storage or access that is used exclusively for statistical purposes.The technical storage or access that is used exclusively for anonymous statistical purposes. Without a subpoena, voluntary compliance on the part of your Internet Service Provider, or additional records from a third party, information stored or retrieved for this purpose alone cannot usually be used to identify you.
Marketing
The technical storage or access is required to create user profiles to send advertising, or to track the user on a website or across several websites for similar marketing purposes.