Over the summer I saw so many teachers sharing their Bitmoji classrooms that I had to give it a try. Of course, this is something that is not necessary, but I thought it would be fun to make one. Sometimes it’s these little unnecessary touches that make my work fun!
How Can You Use Bitmoji Classrooms?
First, I think it adds some fun to your virtual class. Even if you are back in the classroom, it will be fun for your students to see. Bitmoji classrooms can be used as:
- A way to display your schedule.
- A way to greet your classes.
- A way to place links you can use during your lesson.
- As a choice board for students to use and explore on their own
- And many more!
There are so many tutorials on YouTube that it doesn’t make sense for me to recreate the wheel. Here is one video that I think explains the process in simple steps:
Don’t have time to watch the video? Don’t worry! I’ve got you covered. I took some screenshots of the process I went through while creating my virtual classroom;
I opened Google Slides: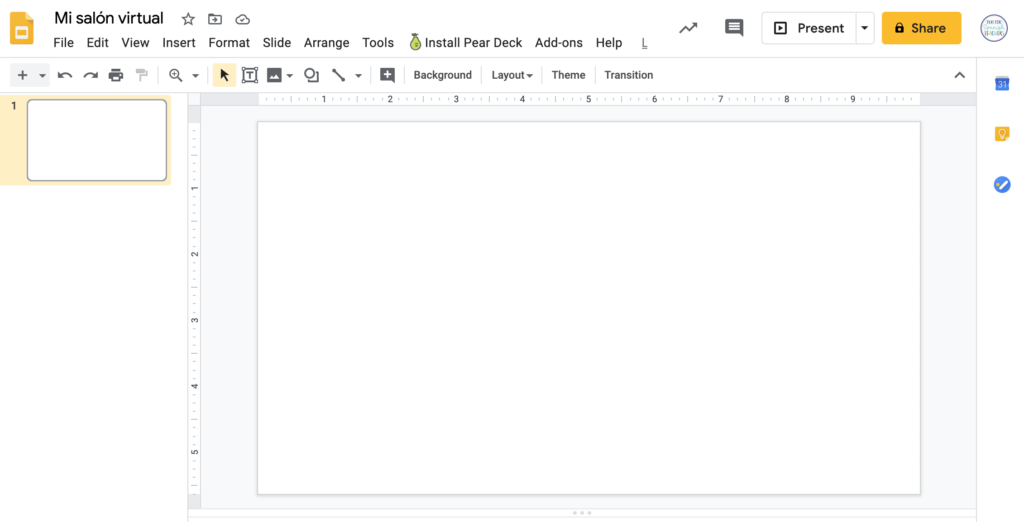
I clicked on “Background” to add my first image: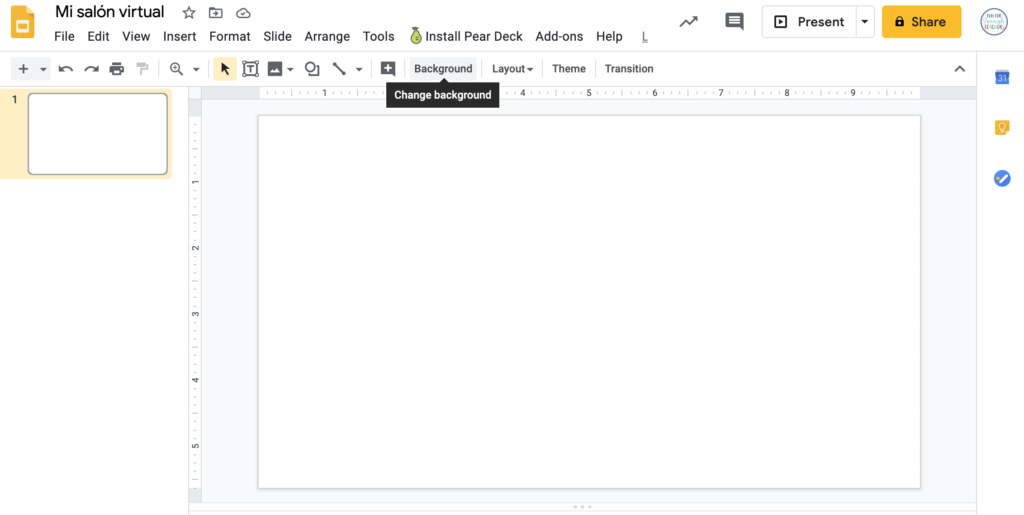
I chose “Insert background image” and clicked on “Choose image”:
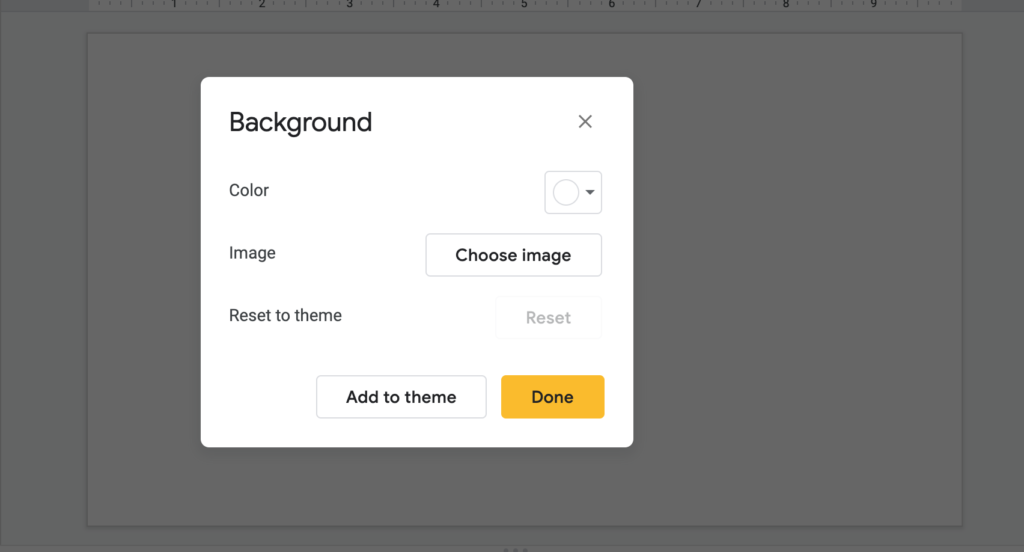
I clicked on “Google image search” because I was looking for images on Google. You can also click on any of the other options if you are uploading your images from somewhere else: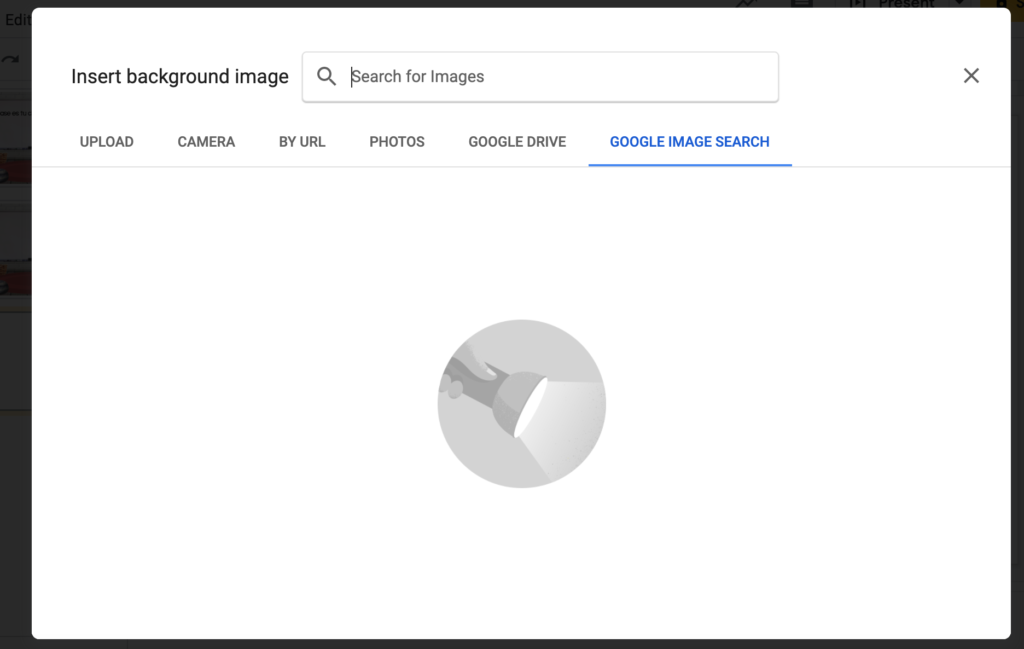
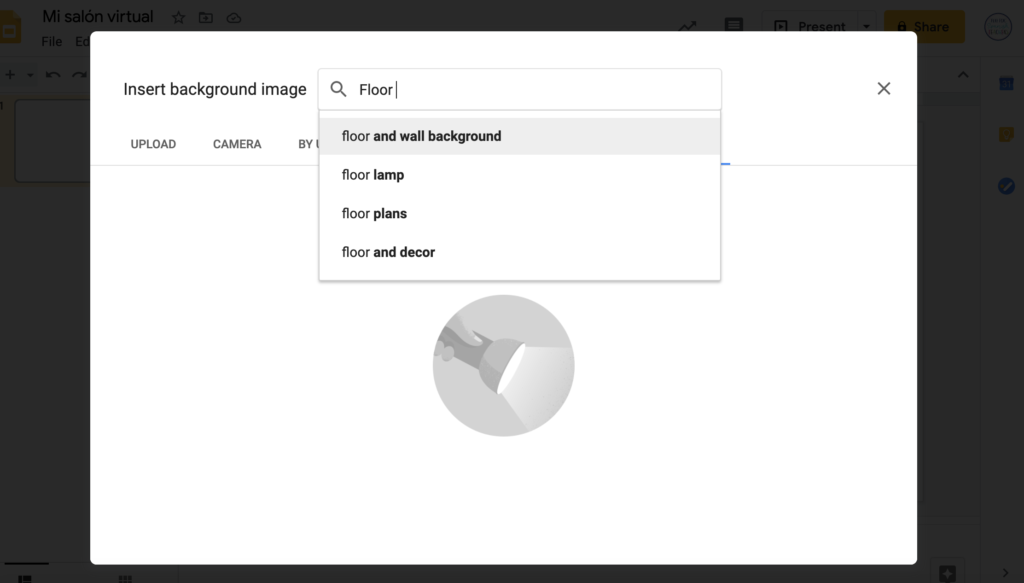
In this case, I wanted to look for an image of the “floor and wall background together.” I made sure to search for a picture of a transparent background or a png image:
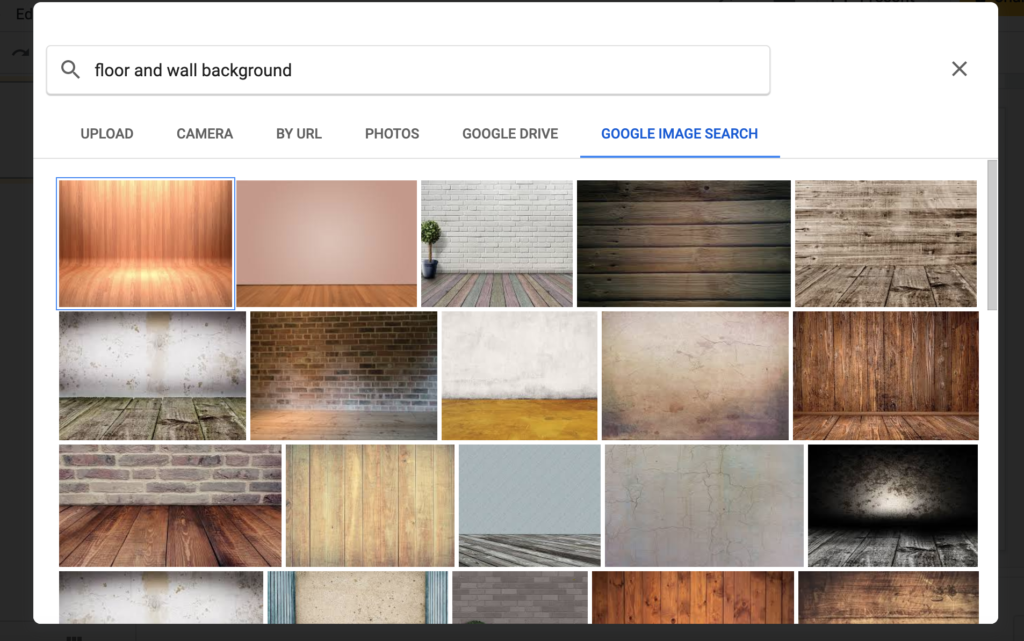
I clicked on the picture that I liked and hit “Insert”: 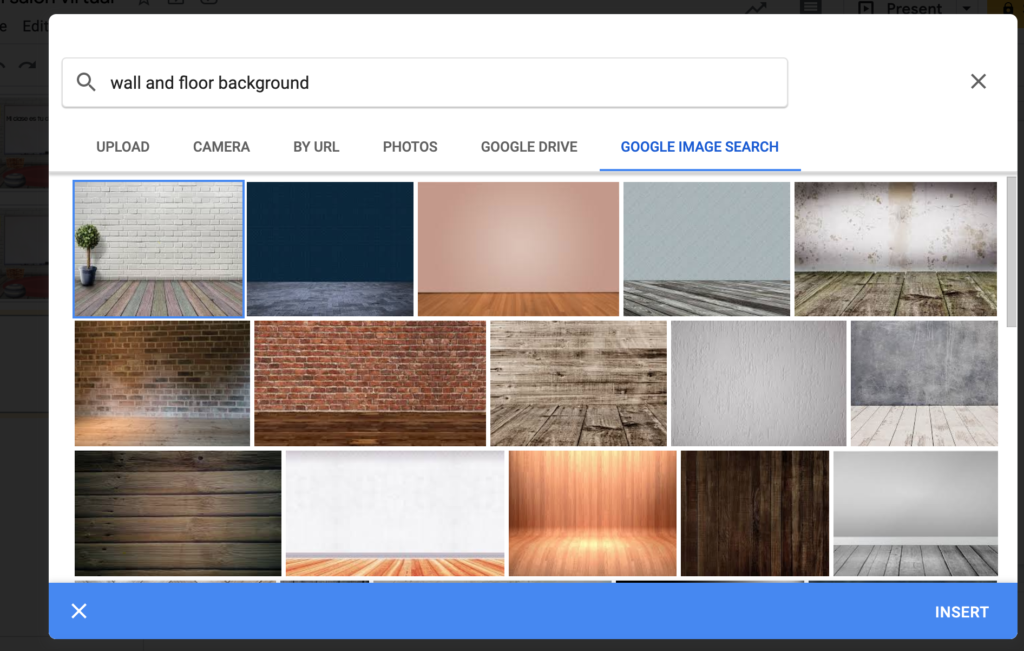
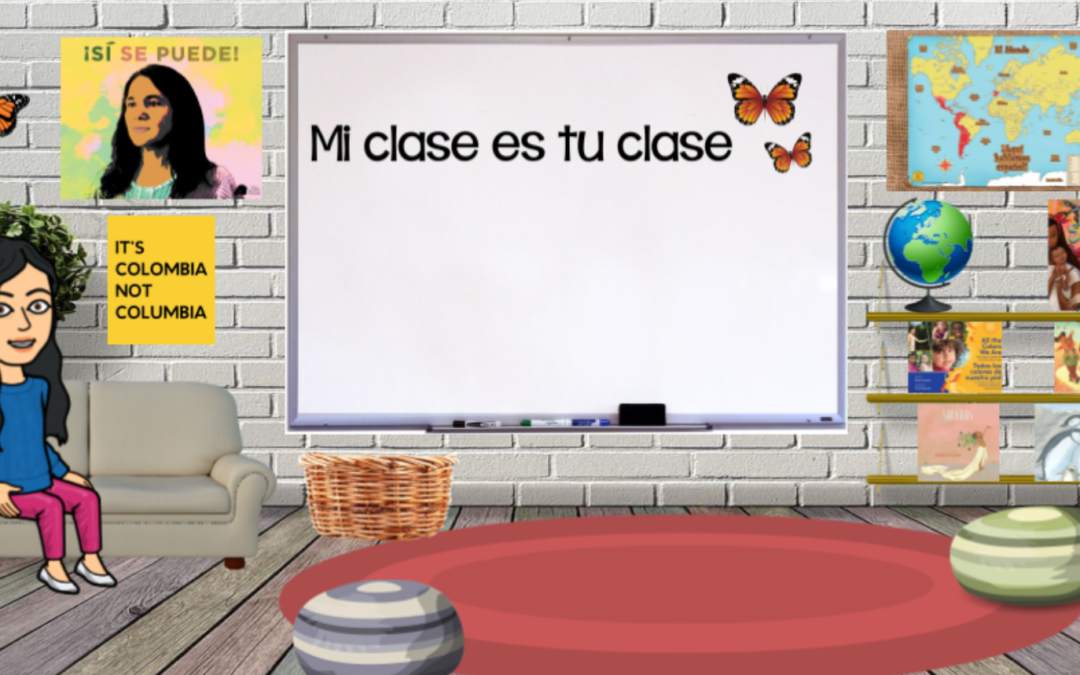
I really liked the white walls and colorful floors in this picture! 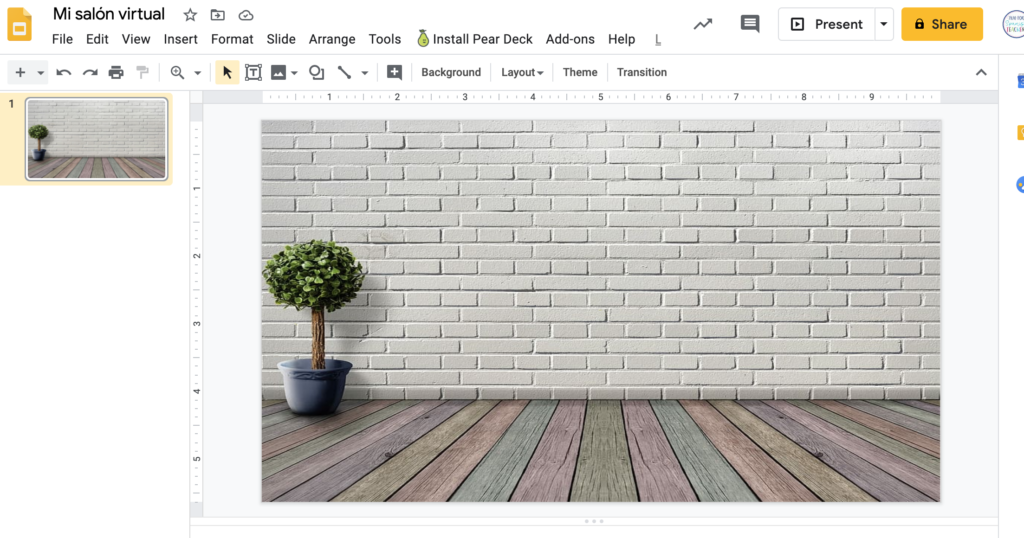
Next, it was time to add more items to my classroom! It didn’t need to add more background images. (If I’d done that, it would have replaced the ones I already had). I just needed to click on “Insert image” and then choose where I was going to upload it from. (Note that if you don’t have any images yet, you can do a web search. Just remember that you need to look for images with transparent background or png images.): 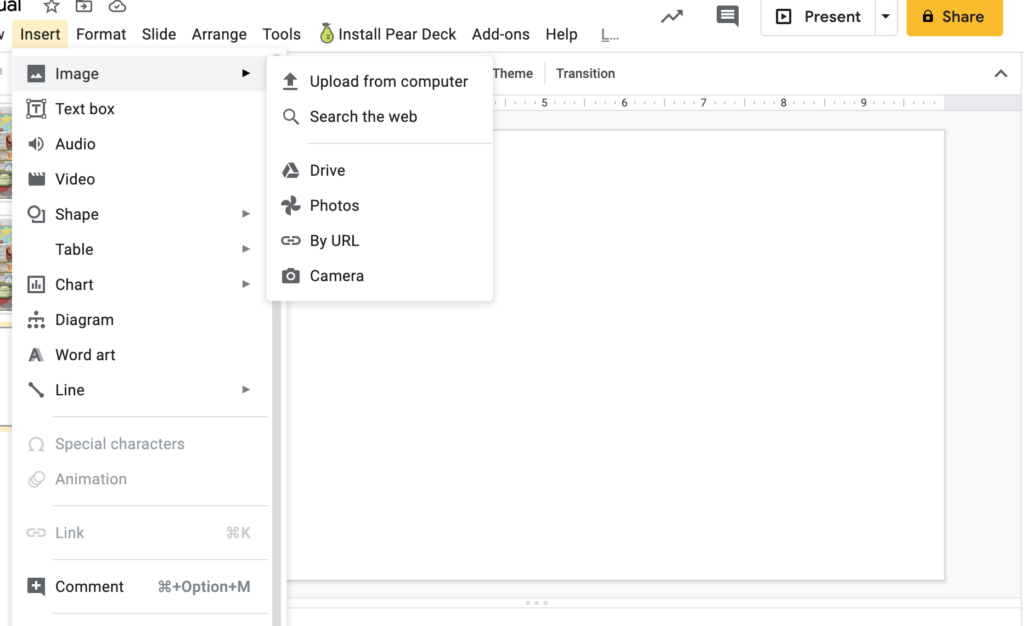
Next I went “shopping” for a whiteboard: 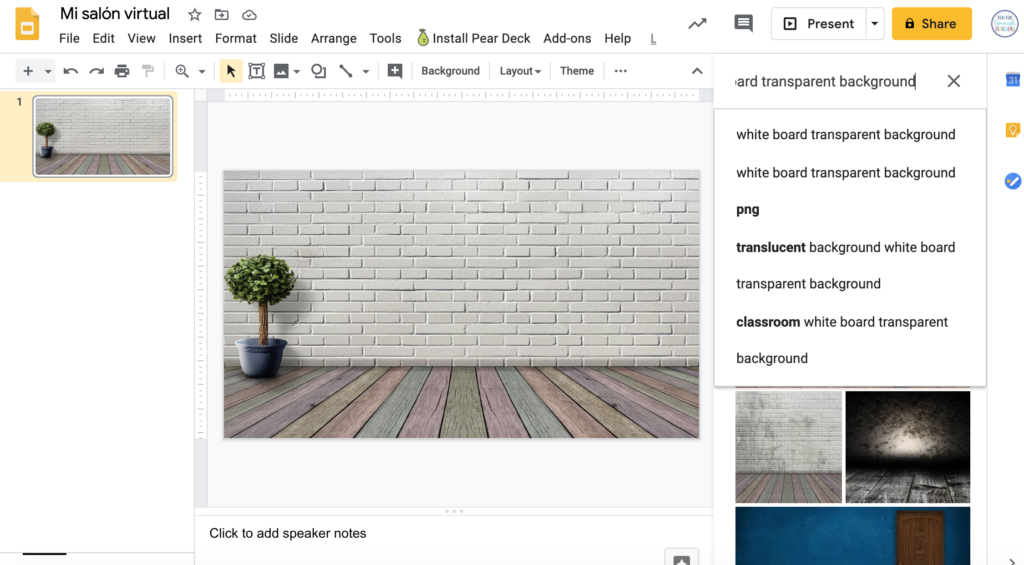
I found the one I liked, clicked on it, and inserted it into my slide: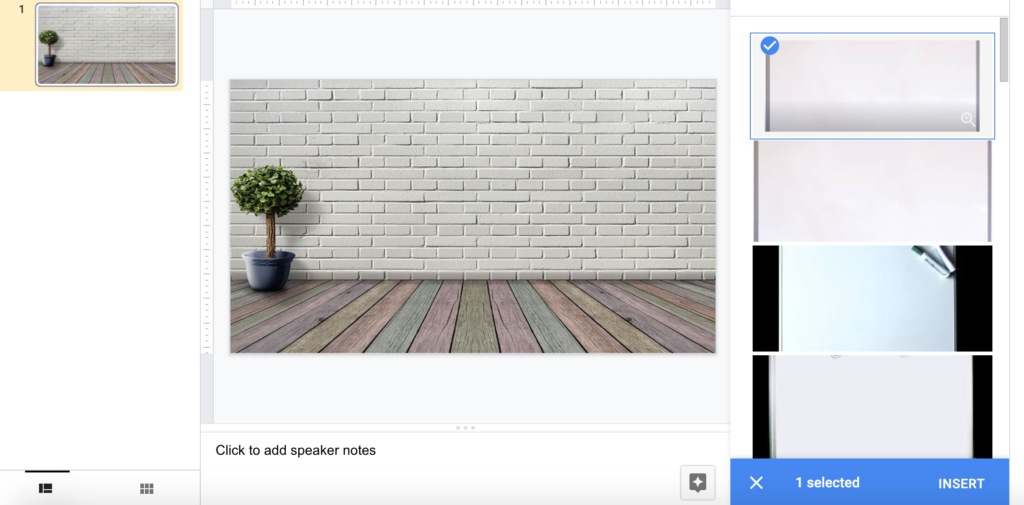
My classroom has a whiteboard now! Just follow the same steps to add more exciting things to your classroom. 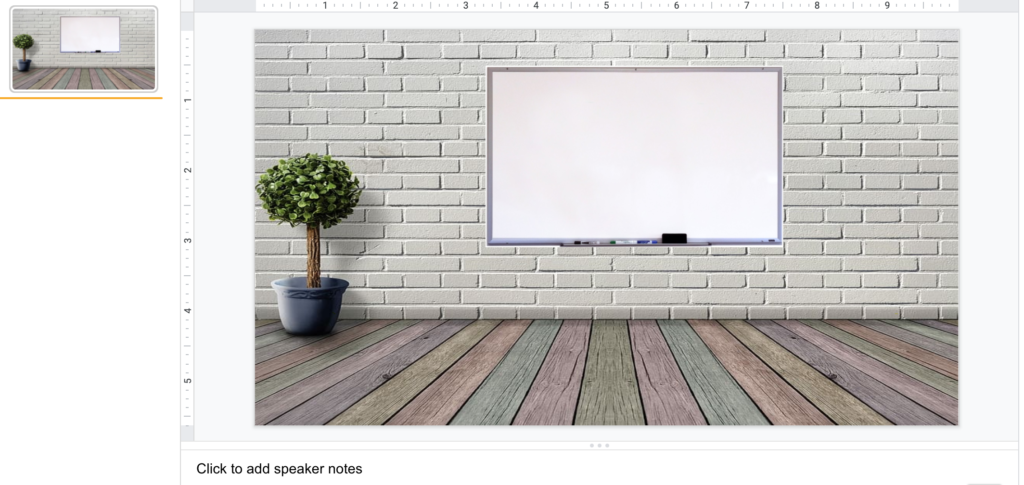
How to Add a Bitmoji?
You will need to download the Bitmoji chrome extension to your computer and design your own little persona. Once you are ready, on your Google slide, click on the Bitmoji extension and search in the space bar how you want your Bitmoji to look. 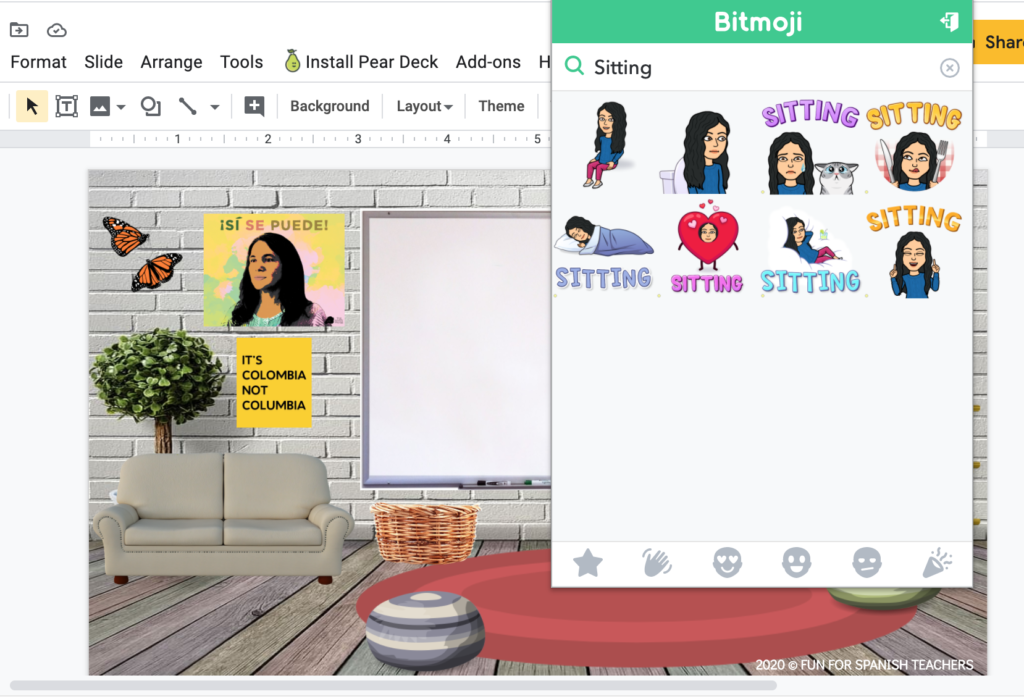
If the Bitmoji you want to use has words, you can use the “Remove Background From Image” tool to get rid of them!
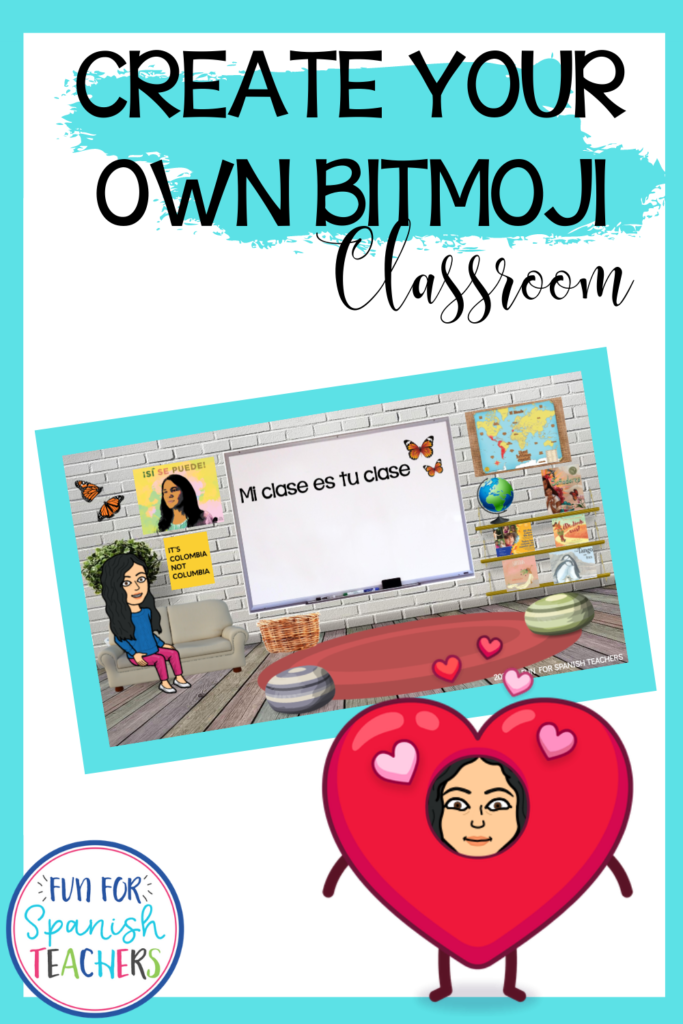
This is how my Bitmoji classroom looks!

Don’t’ have time to create a Bitmoji classroom? Feel free to click on this image, drag it to your computer desktop, open Google Slides, and add this image as a background. Now you are ready to add your own Bitmoji!
Have a lovely school year!

More teaching resources on Teachers Pay Teachers:


Olá e obrigado por este blog é uma verdadeira inspiração.
Thank you!
Your blog is a success, very complete. Ahhh when passion is there, everything is 🙂
Thank you so much for your kind words.